Ever feel like your designs are just meh? Or maybe you catch yourself comparing your work to others’ more polished, eye-catching designs?
It’s a feeling most designers experience at some point. But the question is, how can we elevate our design skills to the next level?
Ever feel like your designs are just meh? Or maybe you catch yourself comparing your work to others’ more polished, eye-catching designs?
It’s a feeling most designers experience at some point. But the question is, how can we elevate our design skills to the next level?
One simple yet effective method is design exploration using the OIM approach: Observe, Imitate, Modify
One simple yet effective method is design exploration using the OIM approach: Observe, Imitate, Modify
Here’s a step-by-step breakdown of how to use this method to level up your UI design skills.
Here’s a step-by-step breakdown of how to use this method to level up your UI design skills.
1. Define Customizable Assets
1. Define Customizable Assets
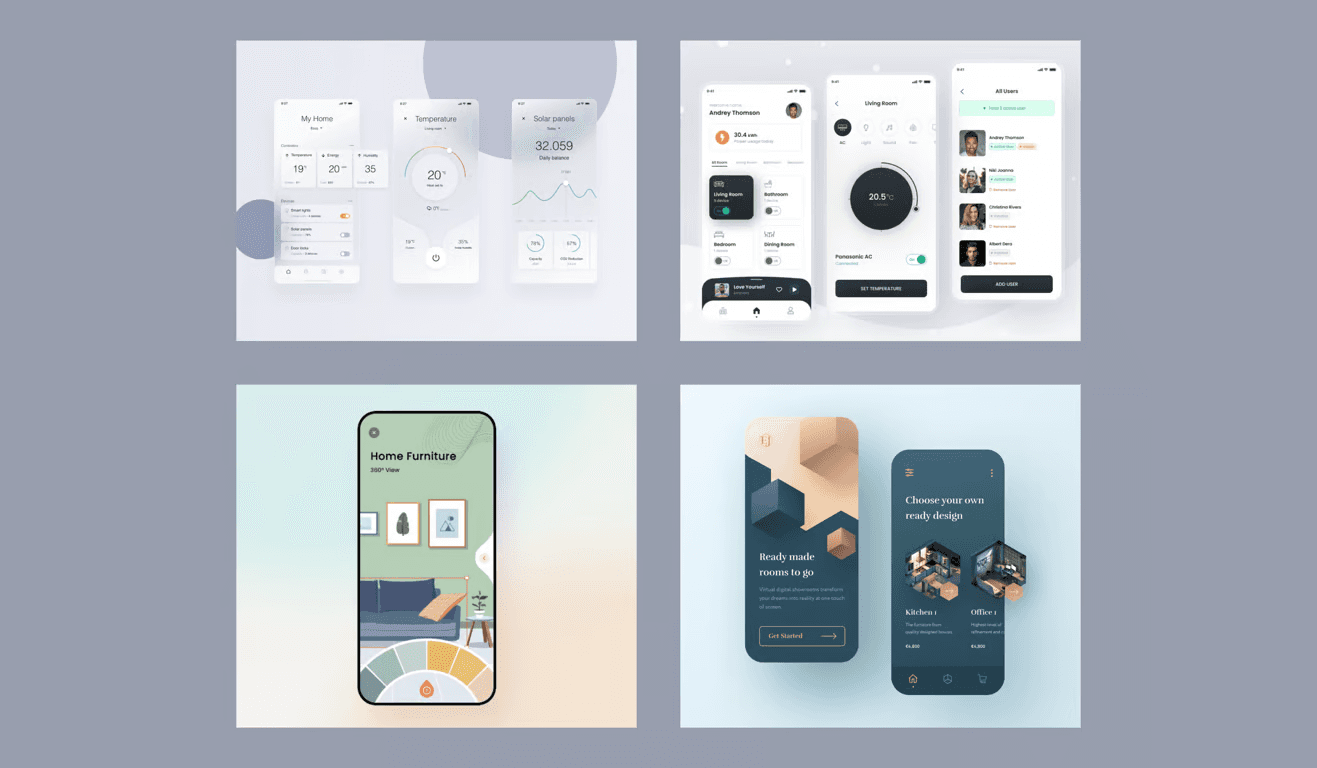
Start by gathering layout references from existing UI designs. These references can spark ideas and help you identify opportunities to improve on others’ work.
The first step is to define the layout, which will serve as the foundation for your exploration.
Start by gathering layout references from existing UI designs. These references can spark ideas and help you identify opportunities to improve on others’ work.
The first step is to define the layout, which will serve as the foundation for your exploration.
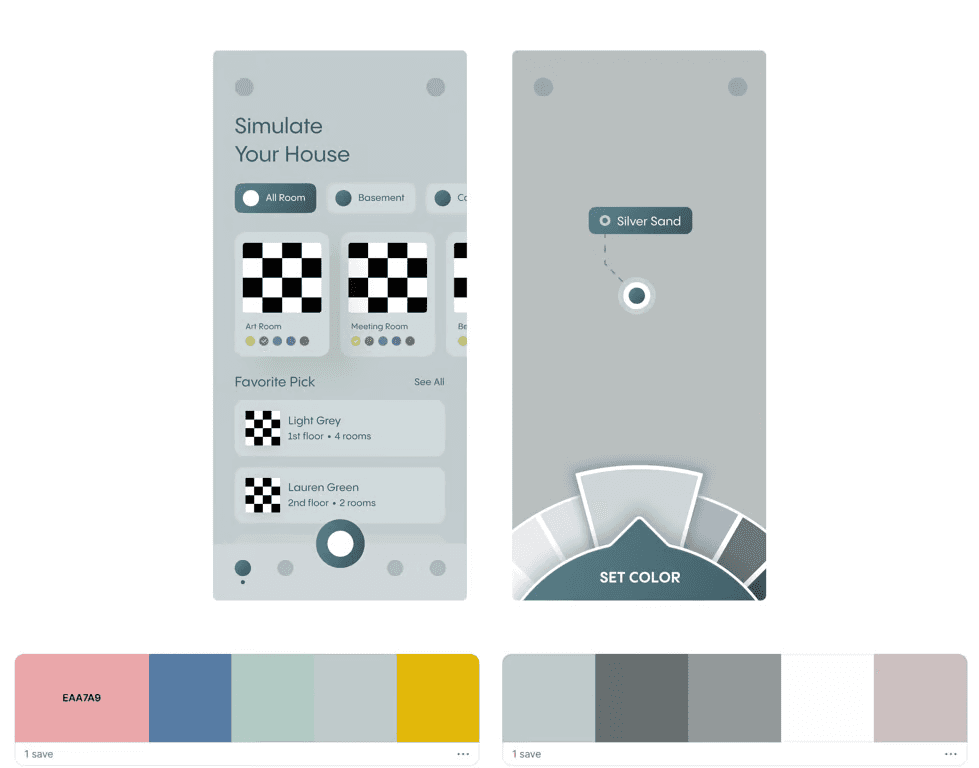
Once you have a general idea of the layout, the next step is to decide on a theme or context for your design.
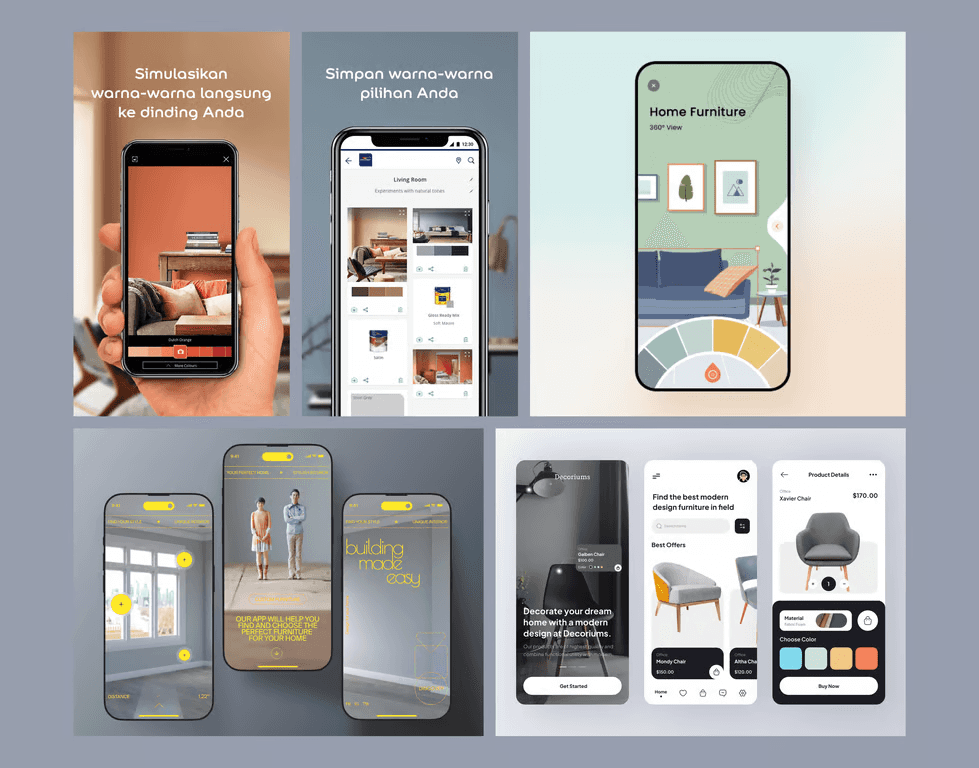
- Look for references from similar apps or concepts (e.g., Home Visualizers) to analyze existing data and content.
- Consider what can be improved upon or adapted for your design.
Once you have a general idea of the layout, the next step is to decide on a theme or context for your design.
- Look for references from similar apps or concepts (e.g., Home Visualizers) to analyze existing data and content.
- Consider what can be improved upon or adapted for your design.
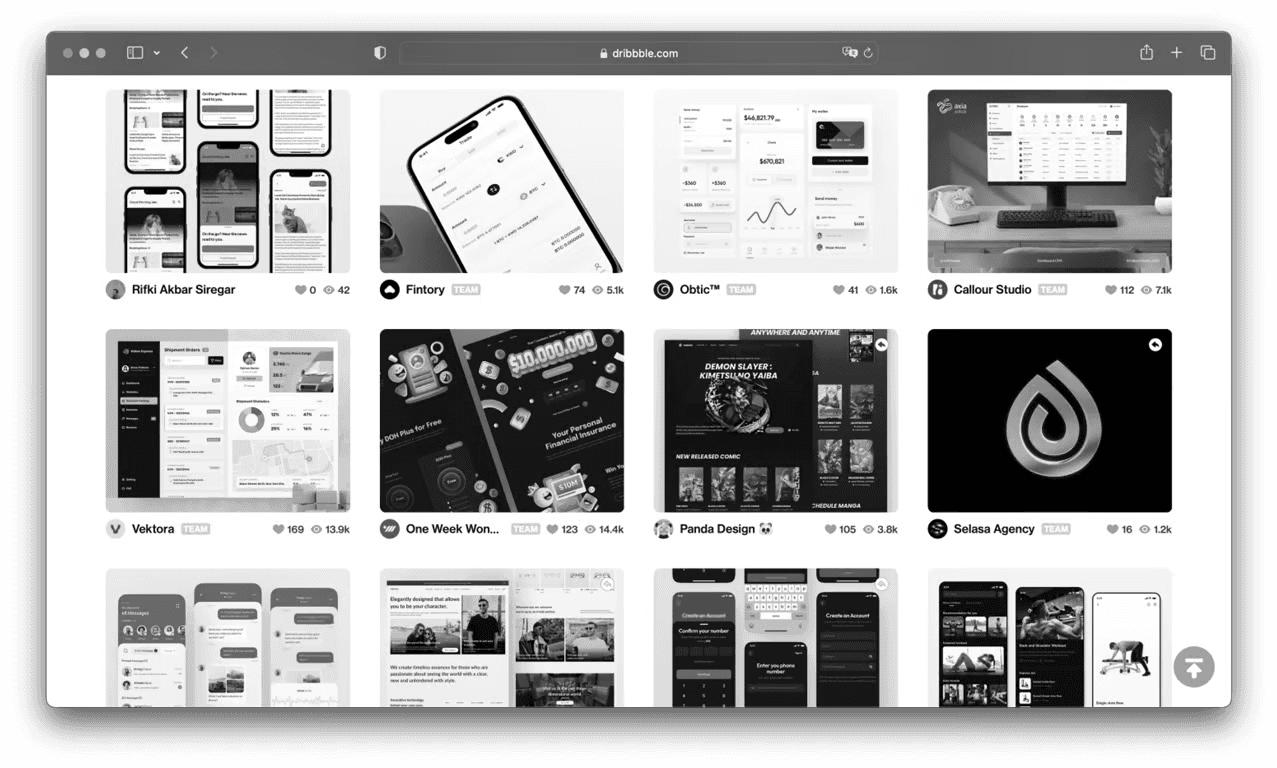
Pro Tip: Check out websites like Chamjo for live app references or Dribbble for visual inspiration.
Pro Tip: Check out websites like Chamjo for live app references or Dribbble for visual inspiration.
3. Create a Design Sketch
3. Create a Design Sketch
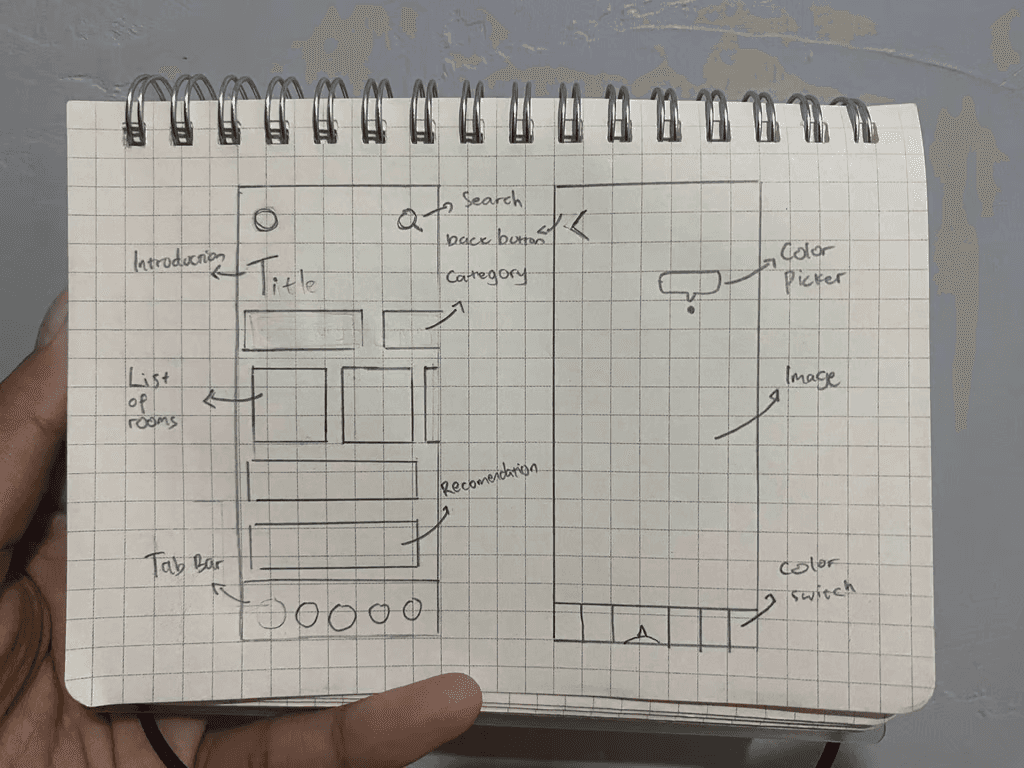
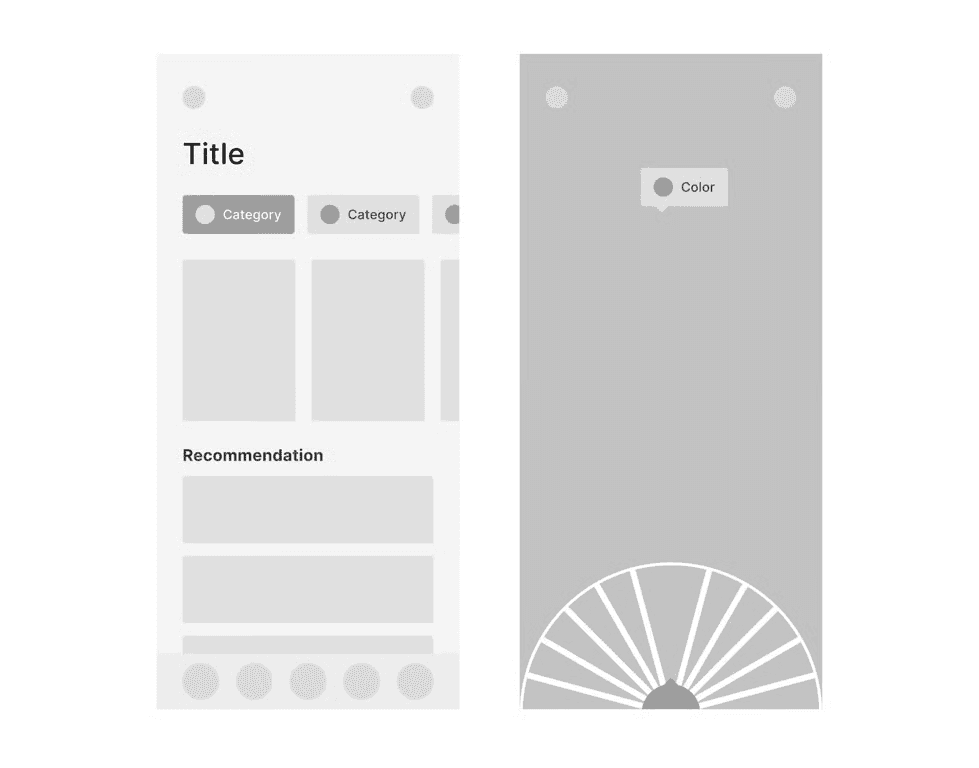
Before jumping into digital tools, sketch your ideas on paper. This step helps you refine your final layout and decide on the information to include.
Before jumping into digital tools, sketch your ideas on paper. This step helps you refine your final layout and decide on the information to include.
7. Create the Final Presentation
7. Create the Final Presentation
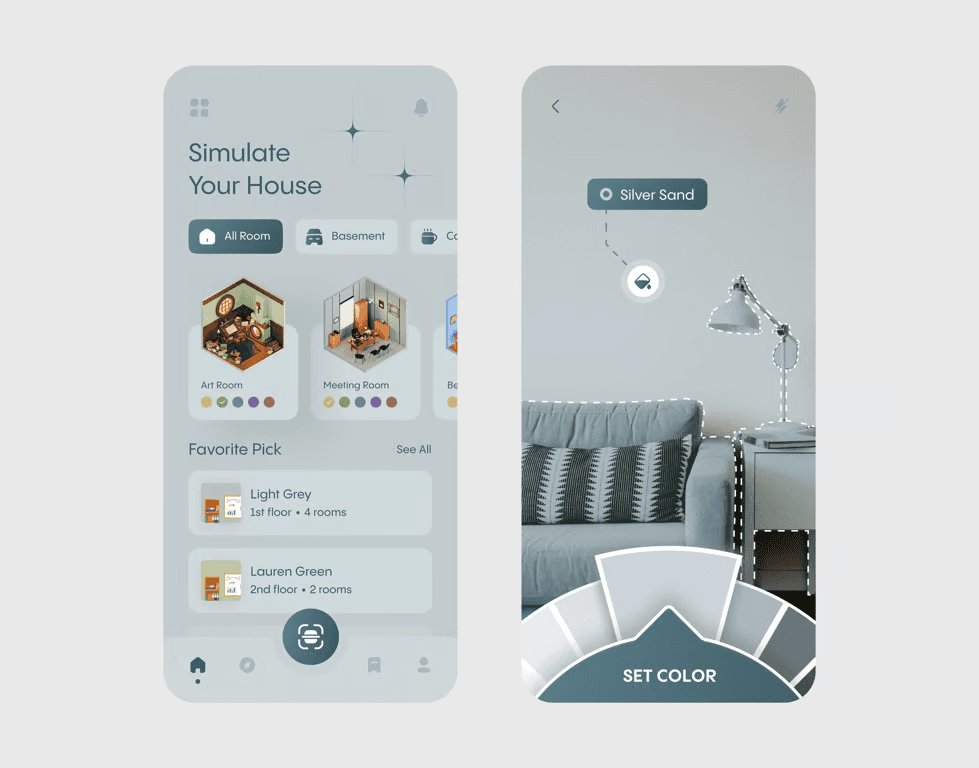
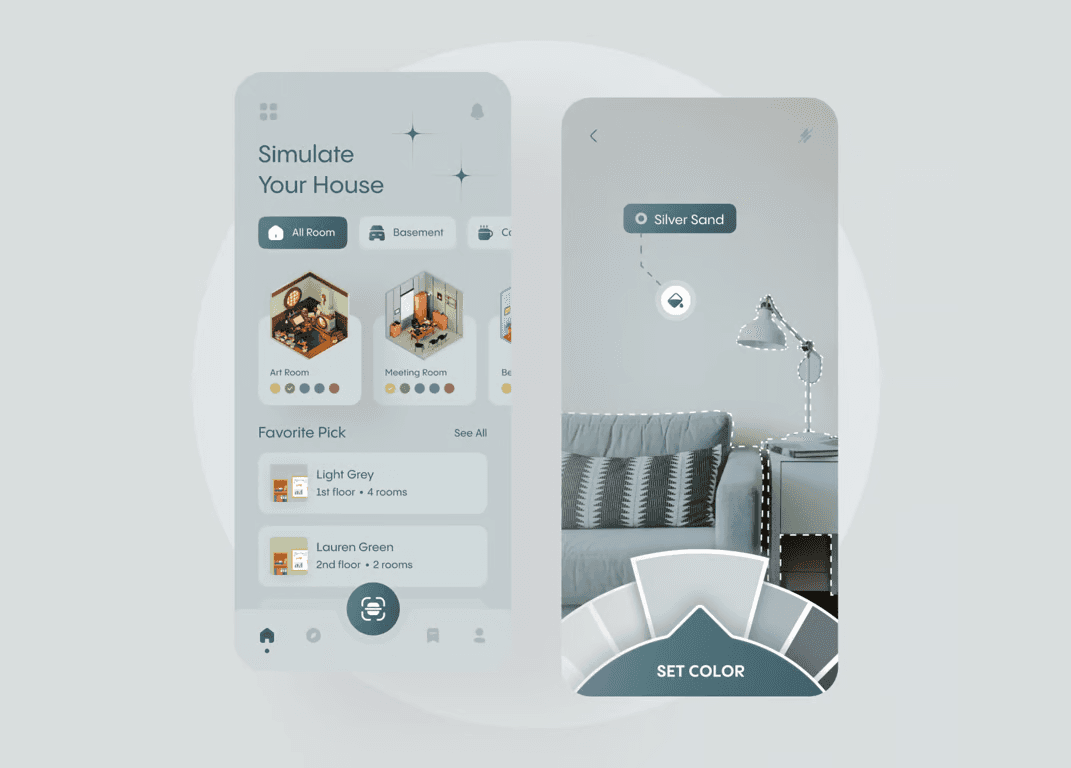
Finally, prepare a presentation of your design.
- Create multiple variations to compare and identify the strongest option.
- Focus on clarity, storytelling, and how the design addresses the initial problem.
Finally, prepare a presentation of your design.
- Create multiple variations to compare and identify the strongest option.
- Focus on clarity, storytelling, and how the design addresses the initial problem.
A Note on Improving UI Skills
A Note on Improving UI Skills
Improving your design skills takes time, practice, and persistence. Don’t be discouraged if your early designs don’t meet your expectations—it’s all part of the learning process. 🎯
Improving your design skills takes time, practice, and persistence. Don’t be discouraged if your early designs don’t meet your expectations—it’s all part of the learning process. 🎯
If you’re interested in learning more, check out this inspiring webinar by Mas Riko: How to Create Dribbble Preview While Ngabuburit. Watch it here:
The steps above were inspired by a webinar presented by Riko Sapto Dimo on 'Belajar Bikin Preview Dribbble Sambil Ngabuburit,' if you are interested in learning it, you can play the video below👋
Youtube Video about How to Create Dribbble Preview
Youtube Video about How to Create Dribbble Preview
